IAM
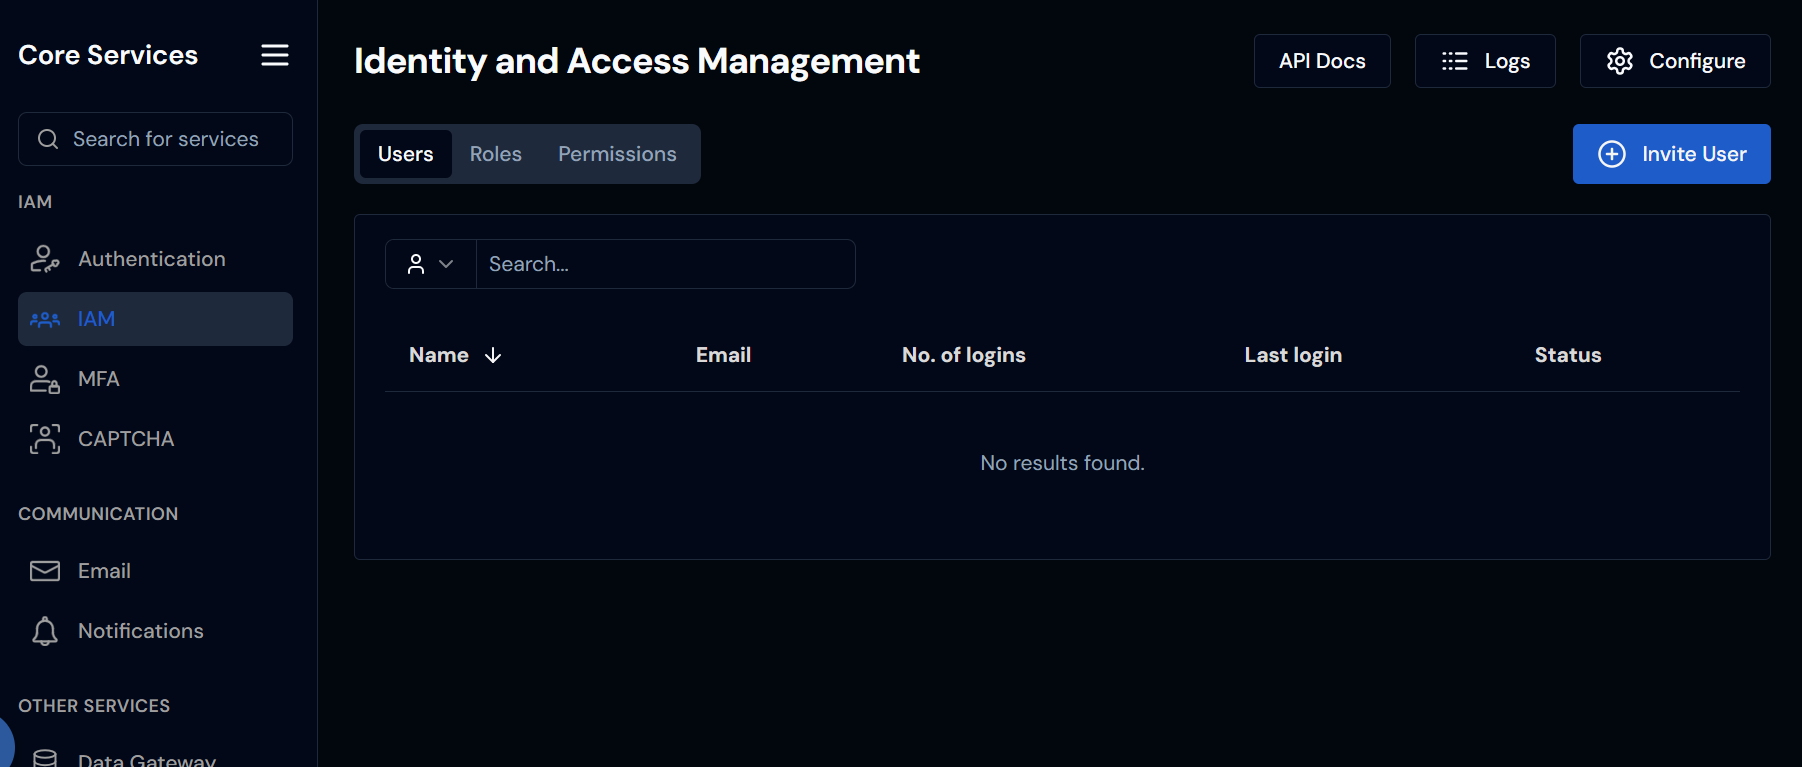
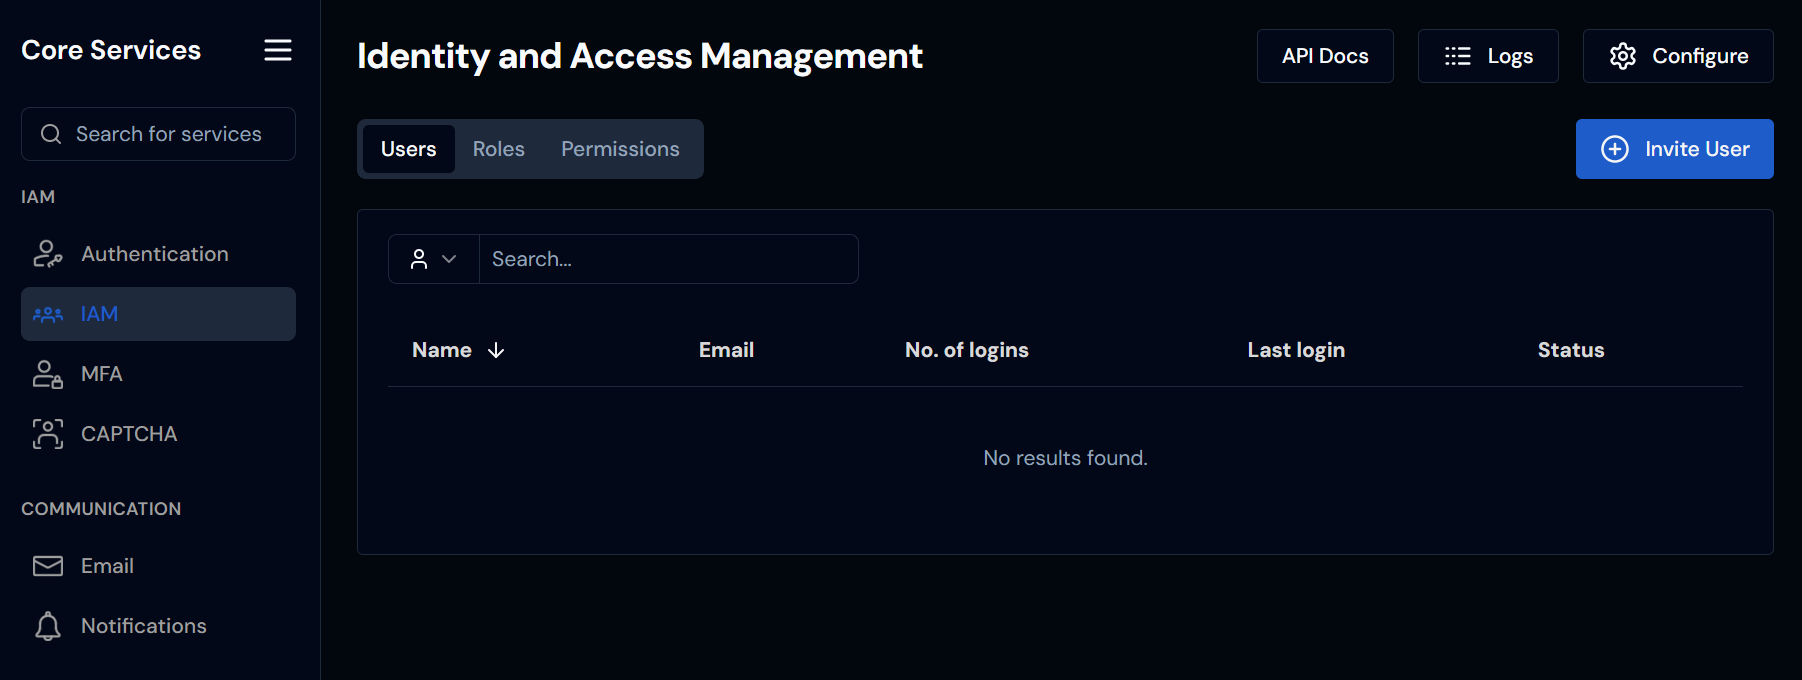
The IAM section in Blocks Cloud allows administrators to manage users, their access permissions, and login -related actions for the Construct environment.
Configure IAM Settings
- Go to Core Services → IAM .
- Click the Configure button.
- The configuration panel includes fields to input the following URLs (typically corresponding to the domain where your project is hosted):
a. User Activation
b. User Verification
c. Account Recovery - Add the following values as needed:
a. Activation URL Lifetime (mins) – Defines how long the activation link remains valid.
b. Recovery Account URL Lifetime (mins) – Defines the validity period for the account recovery link. - (Optional) Tick the Logout on Password Change option if you want users to be logged out after changing their password.
- Click Change to save your configuration.
- You can experiment with different input values — if needed, click Reset to revert to
the previous settings.
Note: Once you modify and save new values, they cannot be reset automatically ; you need to do it manually .
Steps to Add a User
- Go to Core Services → IAM . → The Users tab will open by default.
- Click the Invite User button.
- Enter the user’s First Name , Last Name , and Email Address .
- Click Send to invite the user.
→ The invited user will receive an email with instructions to log in to Construct .
Search and View User Information
- Use the search field to find a specific user by typing their email , first name , or last name .
- The User Table displays key information such as:
- Active/Inactive status
- Number of logins
- Assigned roles and permissions
Edit User Details
- Click on a specific user row to open the Edit Page. The Details tab will open by default.
- Click the Edit User button to update the user’s name.
- Use the three -dot menu for additional actions:
a. Resend Activation – Sends a new activation email.
b. Reset Password – Sends a password reset email.
c. Disable MFA – Disables multi -factor authentication for that user. - Click Change Image in the Details tab to upload or update the user’s profile picture.
- In the Roles table, click Assign Role to add a role (e.g., User , Admin).
- Select the desired role’s checkbox.
a. You can also use the search bar if there are many roles. - Click Include to assign the role. The change will be saved, and the user will receive a notification to log in to Construct .
- n the Permissions table, click Assign Permission .
- Use the search box to find the desired permission by name.
- Select the permission and click Include to assign it. The change will be saved, and the user will receive a notification to log in to Construct .
note
You can assign a maximum of five permissions to a single user.
If additional permissions are required, create a new role that includes those
permissions.
info
Roles and permissions must be configured separately from their dedicated tabs on the IAM landing page.
Check User History and Devices
- Go to the History or Devices tabs to view:
- Login activity
- Session history
- Connected devices
Roles and Permissions
Steps to Add a Role
- Go to Core Services → IAM .
- By default, the Users tab will open.
- Select the Roles tab.
- Click the Add Role button.
- Enter the following details:
a. Role Name – e.g., Admin
b. Slug – e.g., admin
c. Description – Briefly describe what this role can do. - Click Add to save the new role.

Assign Permissions to a Role
- Go to Core Services → IAM .
- Select the Roles tab.
- Use the search box to find the role you want to update.
- Click on the desired role to open its details page .
- The page will display groups listed in rows.
- Click on a group row to view all the permissions under that group.
- Select the permissions you want to assign:
a. To select specific permissions, check the boxes beside individual permissions.
b. To select all permissions under a group, click the checkbox next to the group name . The selected permissions will be assigned to the role once saved.
Steps to Add a Permission
- Go to Core Services → IAM .
- Select the Permissions tab.
- Click the Add Permission button.
- Enter the following details:
a. Permission Name – e.g., Read
b. Type – Select from the dropdown list.
c. Resource – e.g., read
d. Group – Search and select an existing group, or create a new one instantly.
e. Tags and Description – (Optional) Add tags or a short description if needed. - Click Add to save the new permission.

note
For endpoint protection, the resource name should follow the format
service::controller::name
Search Permissions
- Go to Core Services → IAM.
- Select the Permissions tab.
- In the search field , you can:
a. Search by permission name.
b. Filter by source using the dropdown (e.g., Built -in or Custom ).
c. Filter by type using the Type dropdown.